Jekyll + TinaCMS Setup Guide
Table of Contents
Introduction
TinaCMS can be added to your Jekyll site locally. In this doc, we'll guide through the local setup, as well as editing on your production site.
Getting Started
From within your site's directory, run:
npx @tinacms/cli@latest init
This will ask you a few setup questions.
When prompted for the "public assets directory", enter: "./".
If you are importing your site from Forestry.io CMS, some models & config will be auto-imported.
Model your content
To edit your site's content in Tina, you can model your content in the tina/config.ts file.
Learn more about content modelling here
Starting TinaCMS
You can start TinaCMS with:
npx tinacms dev -c "jekyll serve"
jekyll servecan be replaced with your site's custom dev command.With TinaCMS running, navigate to http://localhost:4000/admin/index.html
^ The above default port may differ depending on your framework.
Hint: If you are getting error when running this command please see the Common Errors page.
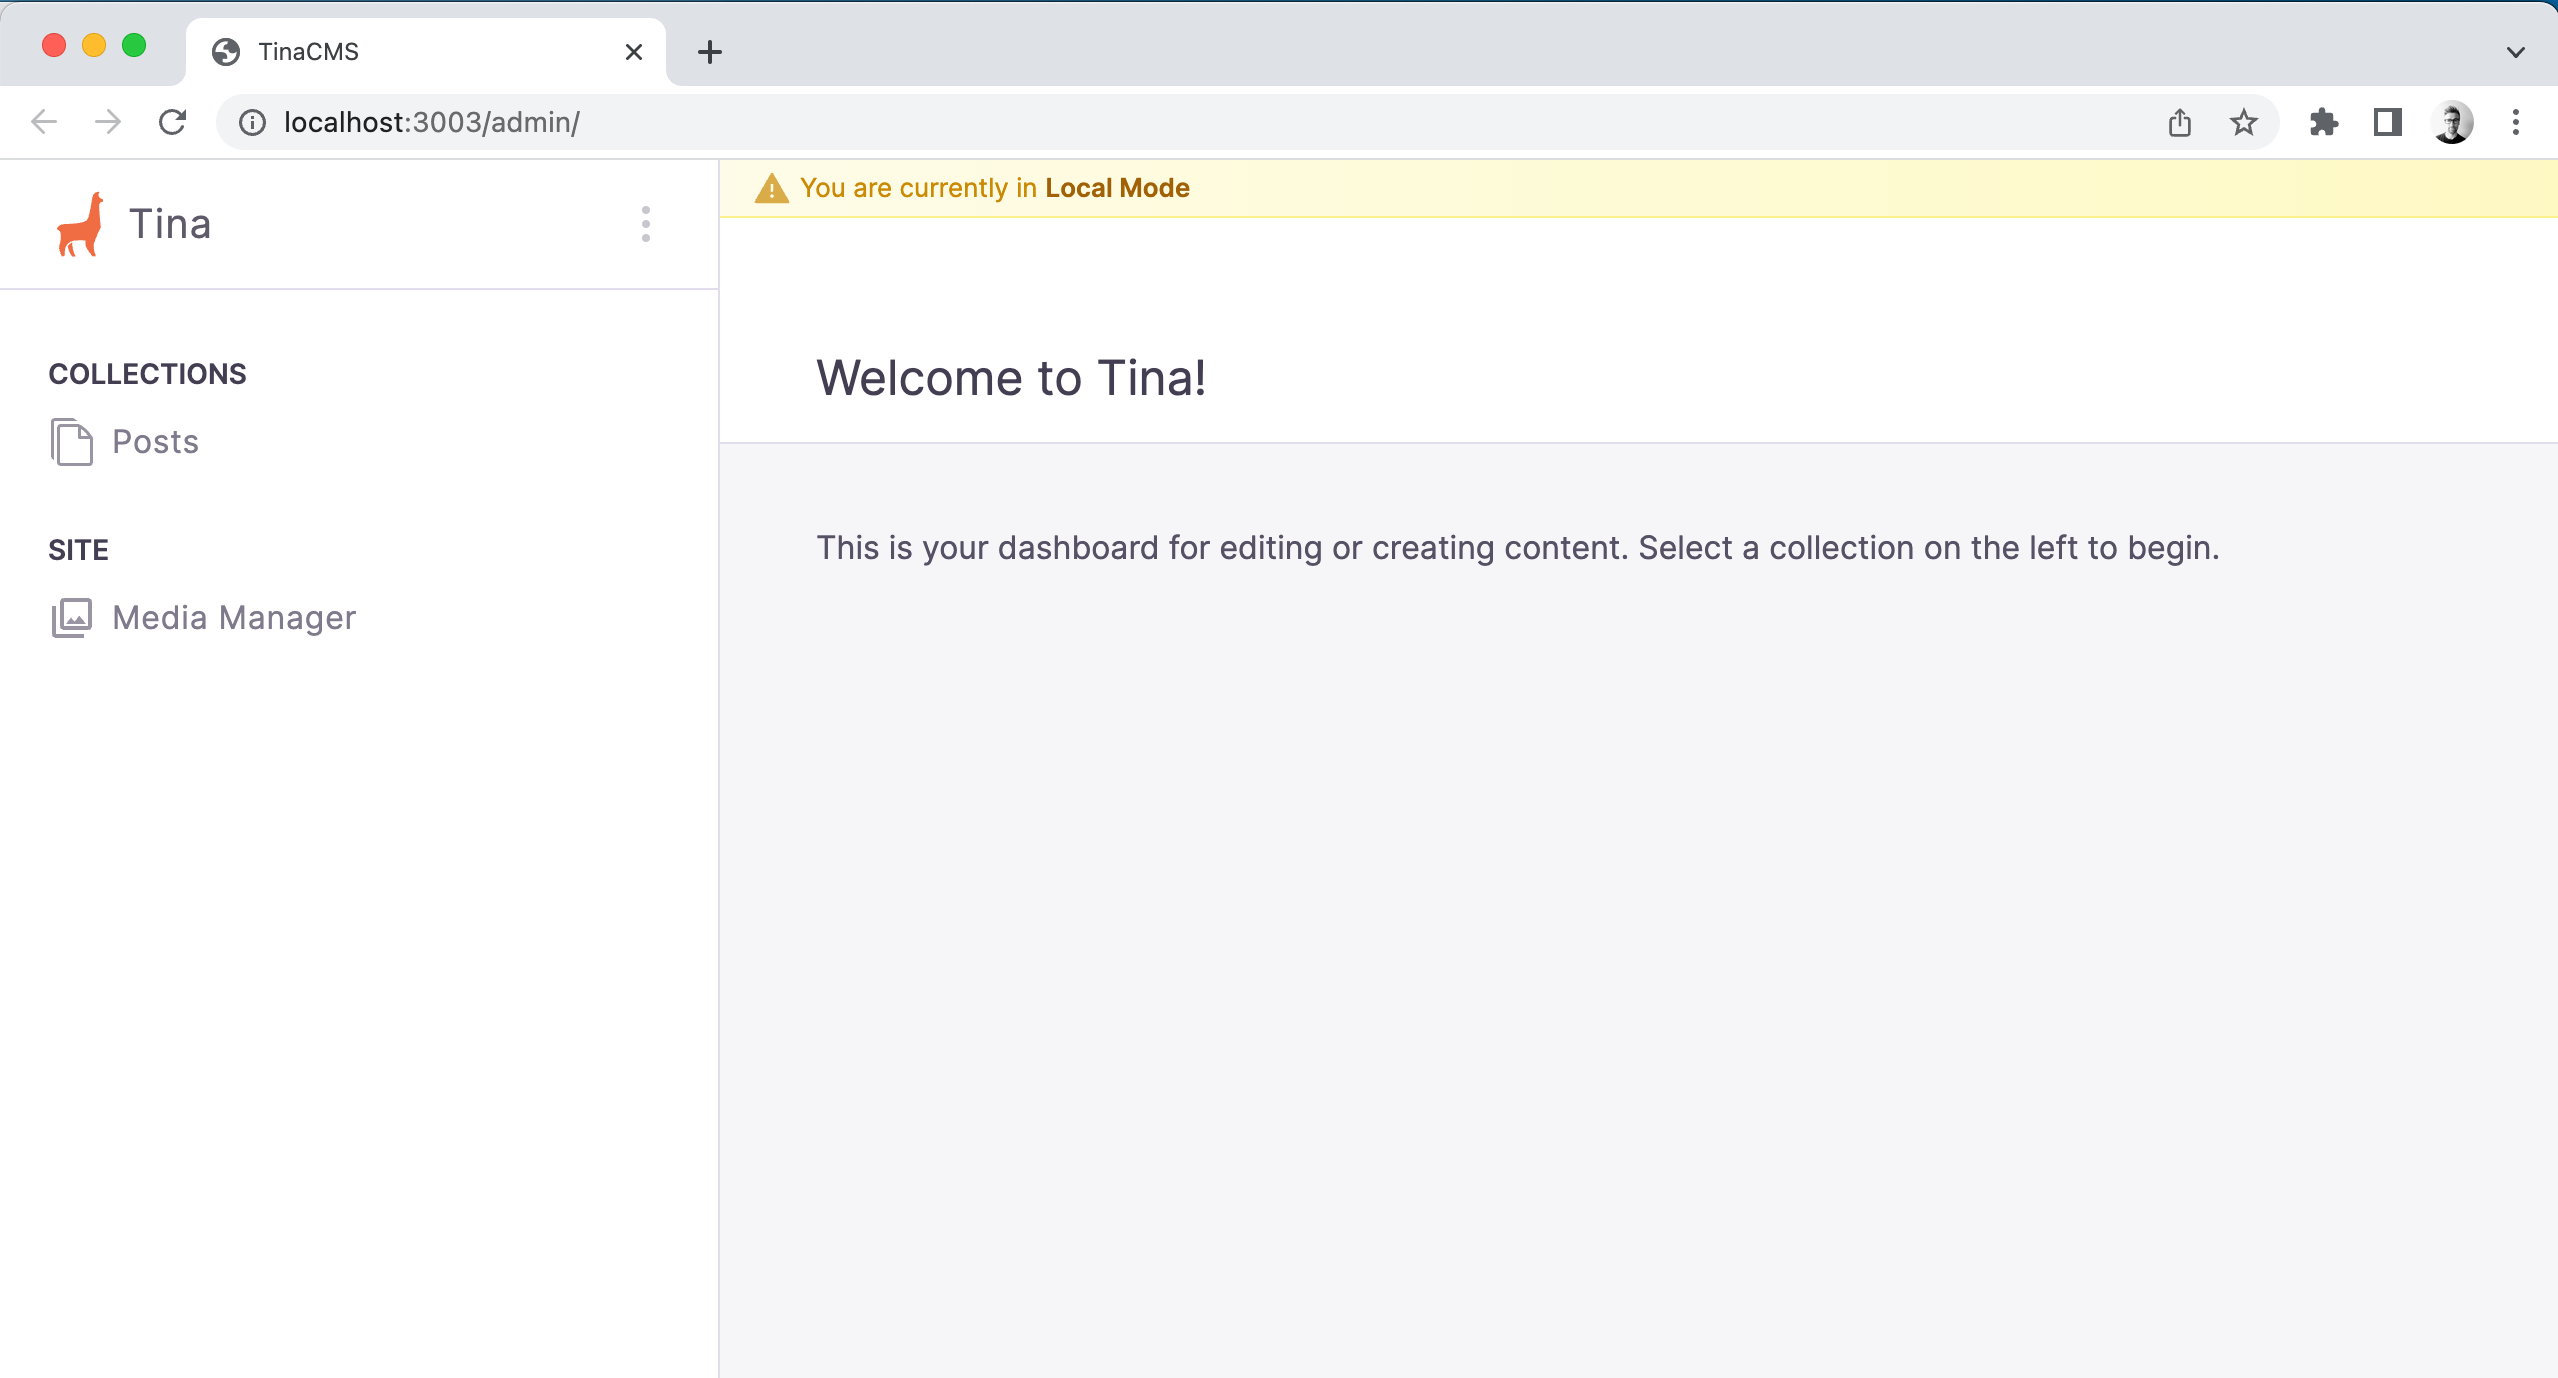
At this point, you should be able to see the Tina admin, select a post, save changes, and see the changes persisted to your local markdown files.
Next Steps
Comparisons
© TinaCMS 2019–2024